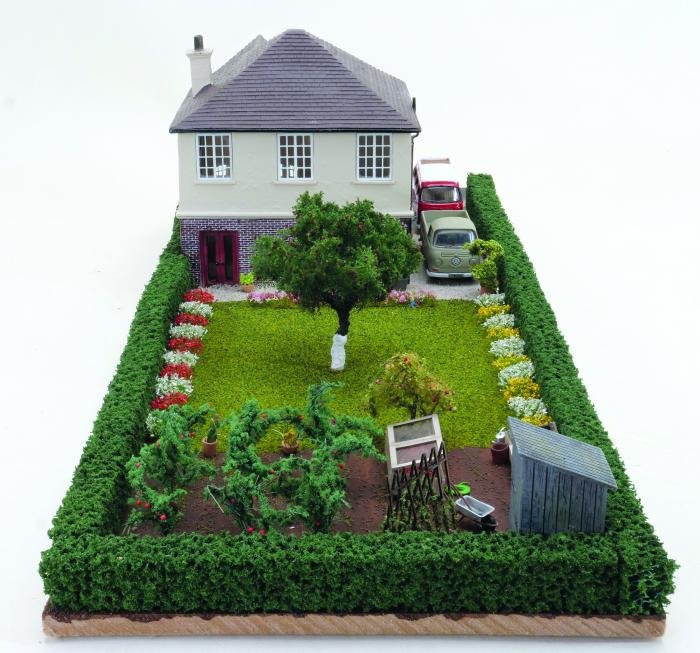
In this step by step guide we will show the process of creating the garden scene shown in HM155 - May 2020. The following sequence of 12 steps takes you through the diorama's construction from bare board to a detailed garden scene - and there is more you can add too including figures, washing lines and animals. To read the original feature on the garden scene, follow this link to Making a Scene. Don't forget to watch our timelapse video of the scene's construction at the end of this feature too.
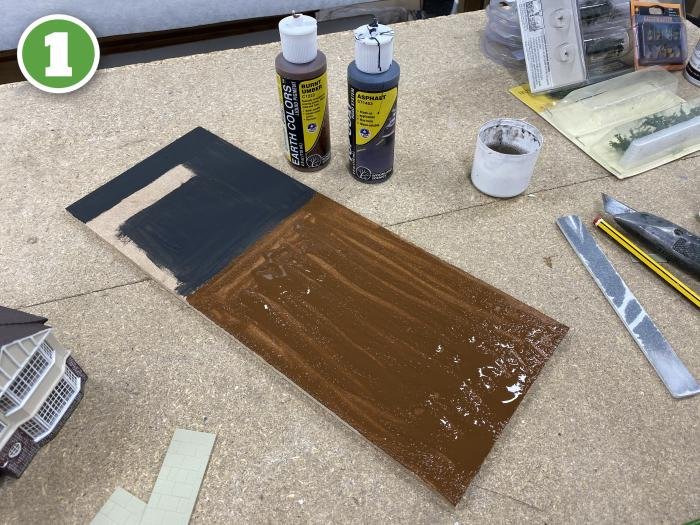
The first stage is to decide on the area for your garden scene. If it is to be part of a larger model railway, plot out the area in pencil. We choose 400mm x 150mm using 6mm thick MDF as the base. This has been painted with Woodland Scenics Asphalt (Cat No. ST1453) for the tarmac areas and Woodland Scenics Burnt Umber (C1222) for the garden area. The latter has been mixed with a chinchilla dust to give a textured finish.
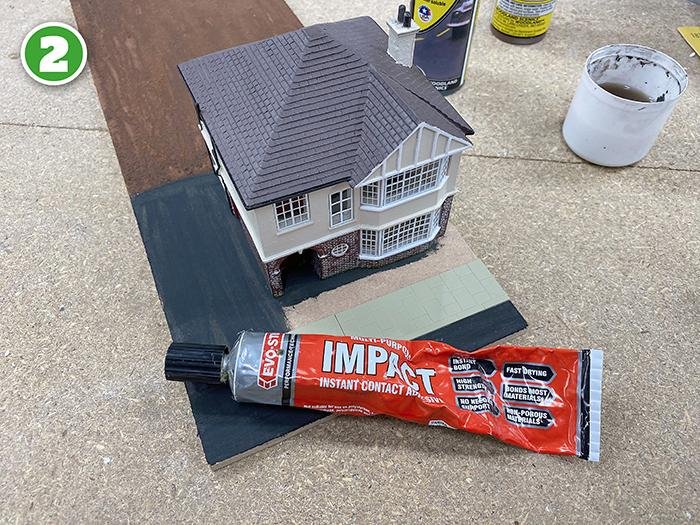
To create a pavement in front of the house we glued two section of Wills paving to the board using Evo Stick Impact adhesive. The pavement overlaps the tarmac colour to ensure an invisible joint. The house - a Skaledale 1930s suburban house (R9720) - has been fixed in place with the same adhesive.
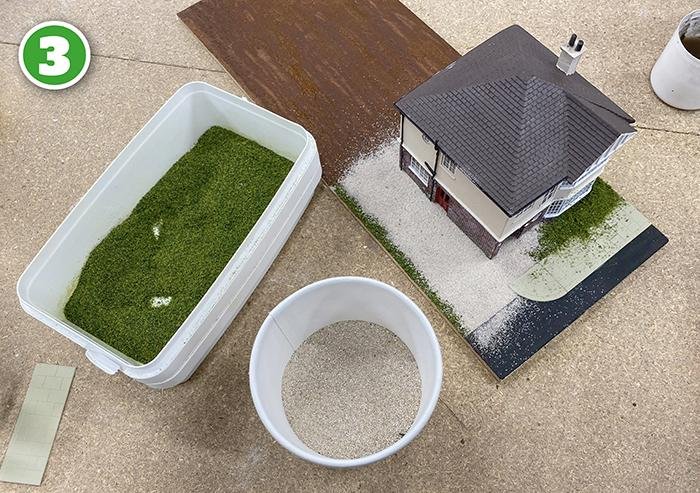
The first layers of ground cover are chinchilla dust for the driveway and Woodland Scenics fine blended green turf (WT1349) for the grass areas. These are applied over PVA glue and the excess will be removed once the glue has dried.
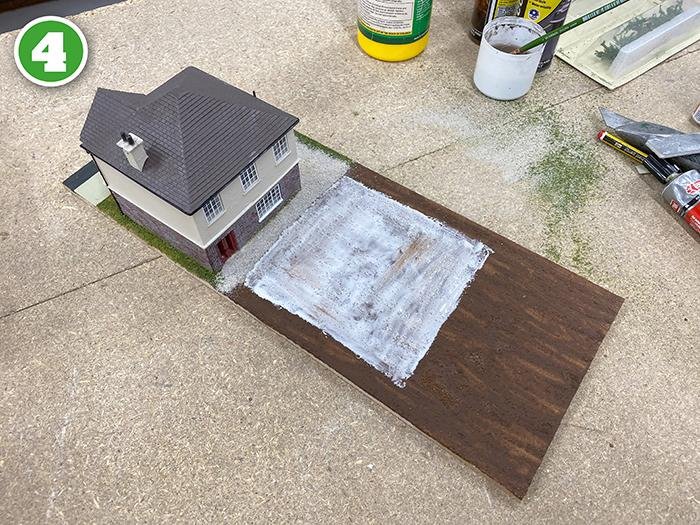
The chinchilla dust gravel covering has been extended around the rear of the house and the lawn area has now been coated with neat PVA spread with a damp brush.
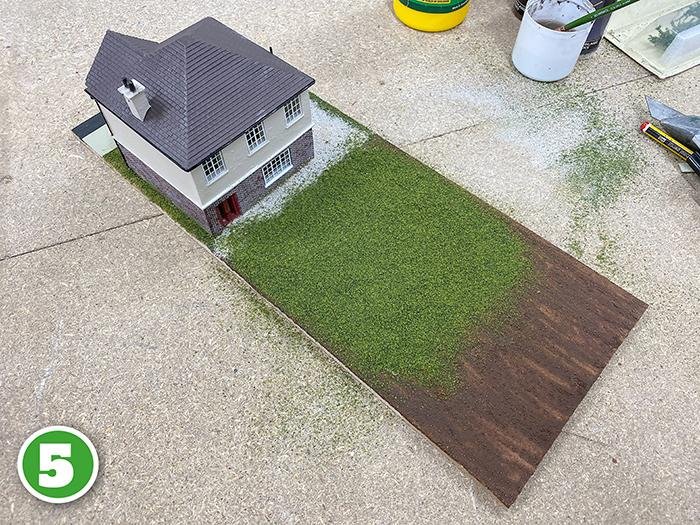
Woodland Scenics fine blended green turf is then sprinkled librally over the PVA glue and allowed to dry.
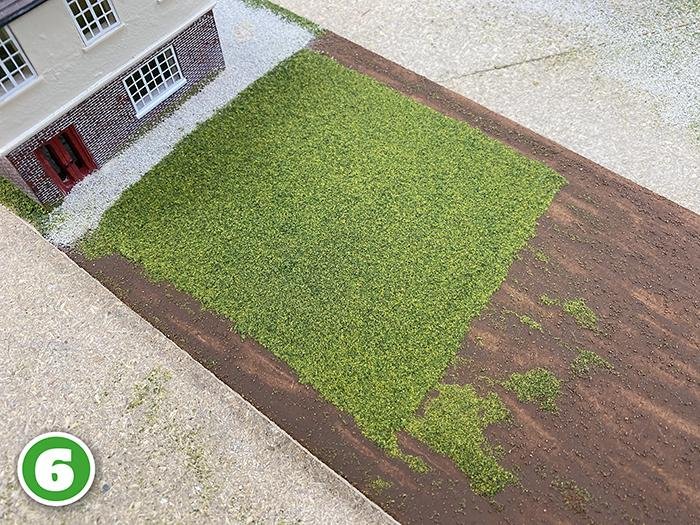
The excess material is tapped off the lawn area to reveal a neater shape. The extra areas of grass to the lower right were also removed.
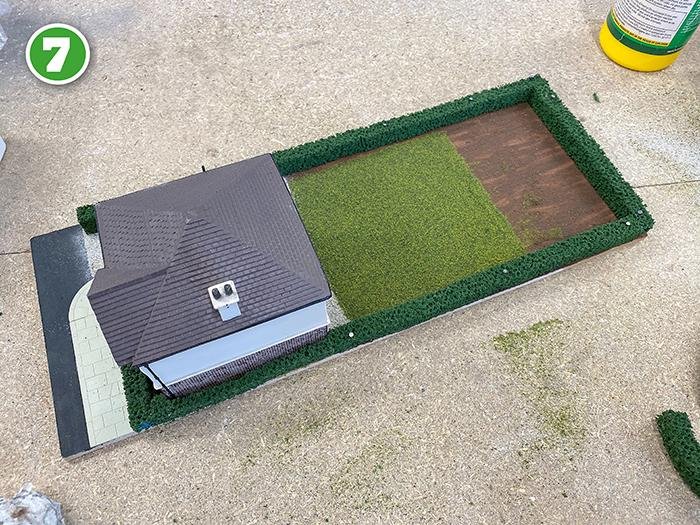
To border the garden Faller 15mm high hedging was cut to length and glued in place with impact adhesive. To hold it while the glue dried, 20mm pins were tapped lightly into the MDF base. These will be removed once the hedging has set in place.
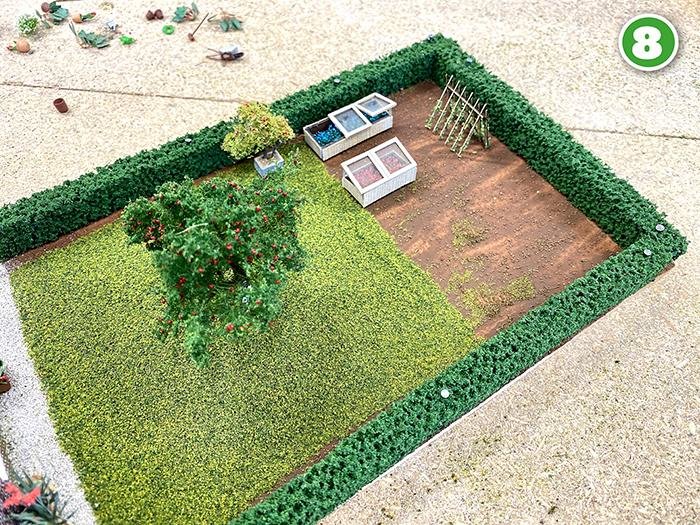
A Primo Models 8cm Apple tree has been added at the centre of the lawn while Noch laser cut cold frames (14358) and beanstalks (13225) have also been glued in place.
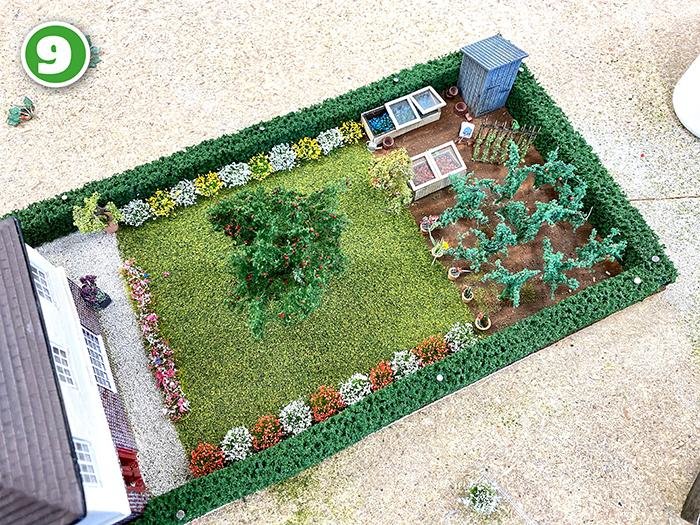
Noch flowering tufts (07135) line the lawn on each side while ornamental plants (14012 and 14020) have been added along the garden edge. The tools and buckets are from Noch's Garden Tools set (14800).
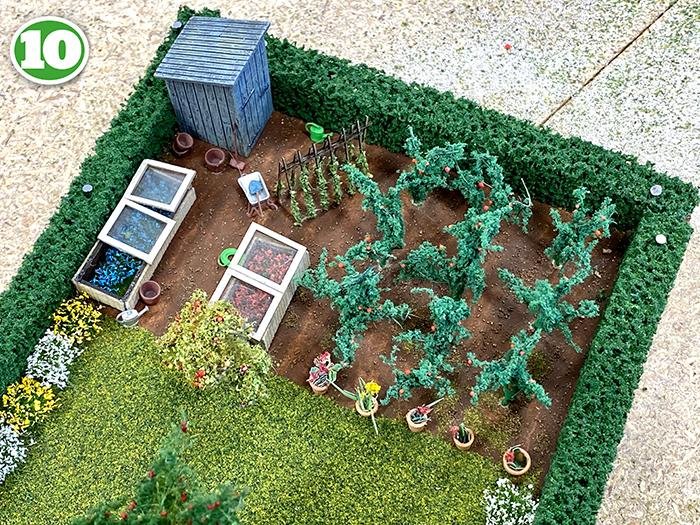
A close up of the garden area showing the tomato plants lined up and pushed into 2mm holes drilled in the board surface.
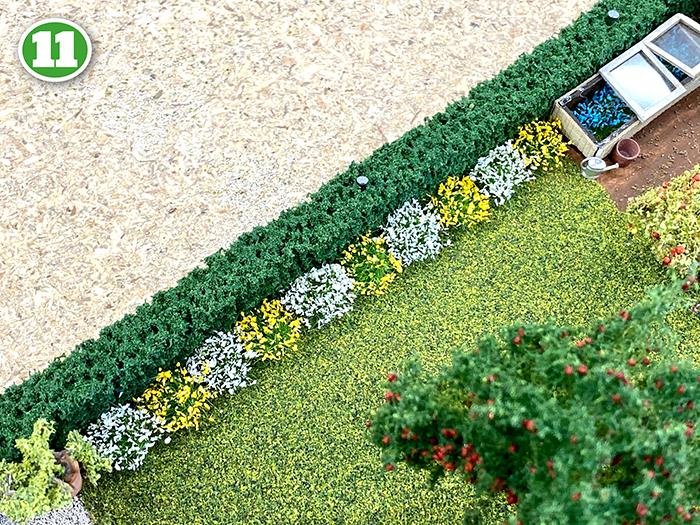
The Noch Flowering Tufts make a perfect border to the lawn.
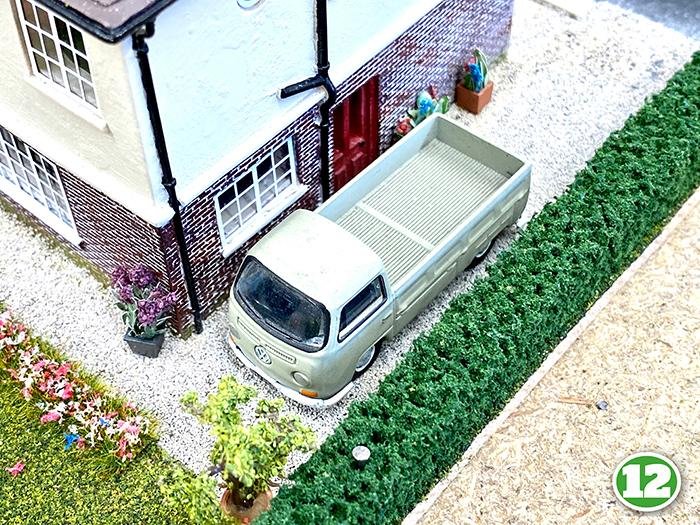
The finishing touch is a strip of Model Tree Shop flower border cut to length to fit the top of the lawn and the addition of an Oxford Diecast VW Type 2 pick up on the drive.
There is more you can add too including figures, washing lines and animals.