One of the first steps taken by a modeller when advancing from ‘building for fun’ to more complex projects is the elimination of joins/seams. Here we examine how to achieve this.


ABOVE: Keeping the mating surfaces clear of paint is crucial to achieving a good seam – often paint is deposited accidentally (bottom), but a few swipes with a sanding stick can remove it easily (top).

ABOVE: Older or short-run kits may not be moulded to the same tolerances as mass-produced items, so there may be a ‘step’ in the styrene, leaving one side higher than the other. Here, the Jet Provost’s nose area was twisted slightly in a clamp to help illustrate this issue.
Moulding has come technology a long way in recent years but there’s a common issue facing many modellers: the presence of prominent seams on a model, caused by the parts not fitting together properly.
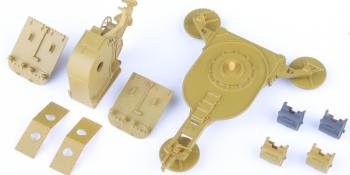
We will again use Airfix’s 1/72 Jet Provost as the ‘guinea pig’ in this Back to Basics article, which will include how to overcome a couple of common errors when treating join lines and surface blemishes.
As with all other aspects for the hobby, preparation is key and begins before the parts are assembled and any glue is applied. It’s vital to ensure the mating surfaces are clear of paint…