Just as every infantryman must learn to strip his weapon for cleaning, so must artists learn to dismantle their airbrush for the same purpose, as JAY BLAKEMORE explains
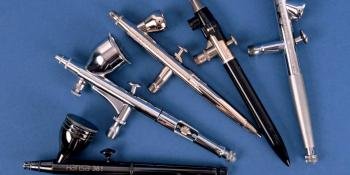
Airbrushes will give you many years of service, but they must be cared for if they are to do so, and the only way to clean them thoroughly is to strip them down to their constituent parts.
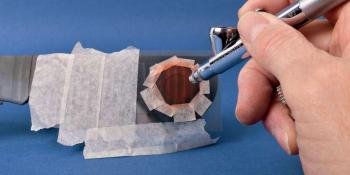
Before starting to remove any components, though, the cleaning process should begin by blowing water or an appropriate solvent through it to remove all fresh paint residue. If uncertain about what liquid to employ for this purpose, it’s advised to use the same solvent with which you have been diluting the paint for that particular spraying session. Although there are many commercially packaged ‘universal’ liquid airbrush cleaners available, don’t be fooled into thinking that they will be effective in removing all types of paint – they won’t.
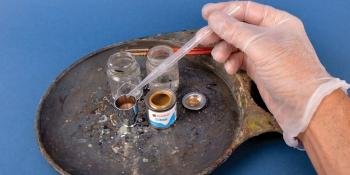
After flushing-through, disconnect your airbrush from the air source. It is a wise precaution to place all disassembled airbrush components in a container or on a tray to prevent their loss, as the small, rounded parts tend to roll away – even when placed on a level surface. Most importantly, remember the order …