Jay Blakemore expands upon his introductory tutorials by exploring some of the more advanced techniques possible when using an airbrush - such as layering.
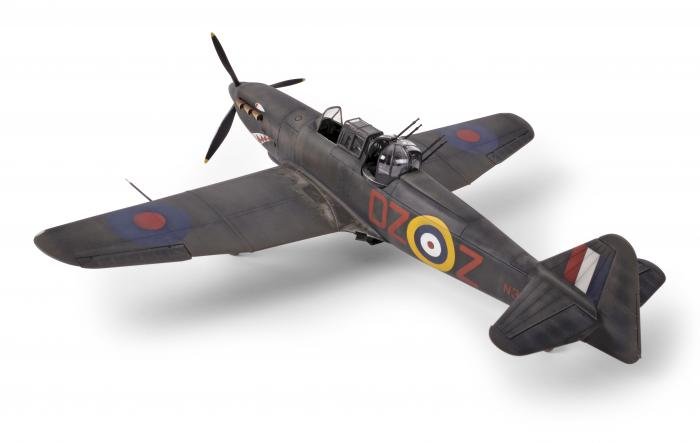
Above: The completed Airfix 1/48 Boulton-Paul Defiant in all its weathered glory, showing the subtle effects created at the wing roots - discover the techniques used to produce these effects in the work-in progress photos below.
The potential of an airbrush can be lost on novices, who might use theirs as they would a spray gun or ‘rattle can’ – that is, to simply apply opaque coats of paint onto their models, as they are used to doing with a brush. This is, of course, understandable when grappling with the intricacies of a new and rather complicated piece of equipment. But the airbrush is a precision tool, which, with practice, enables the operator to apply subtle tonal variations that will add gravitas and interest to any scale subject.